Blog / Project Process
Project Process · Buyer guide
A Gap Between a Stainless-Steel Worktop and the Wall: Seal It or Refit It?
The short answer
A planned worktop-to-wall joint may need a compatible flexible seal, but a large, uneven or moving gap needs a fit assessment first. Identify both surfaces and the joint geometry. Confirm preparation, sealant compatibility and curing instructions with the local installer; silicone should not conceal unresolved support, water ingress or measurement problems.

A line behind a new worktop can be a deliberate installation joint, an uneven wall or a fit issue. Covering it with a large bead of silicone before establishing which one applies makes acceptance harder. Photograph the full run and its ends, then ask the installer to identify the intended detail.
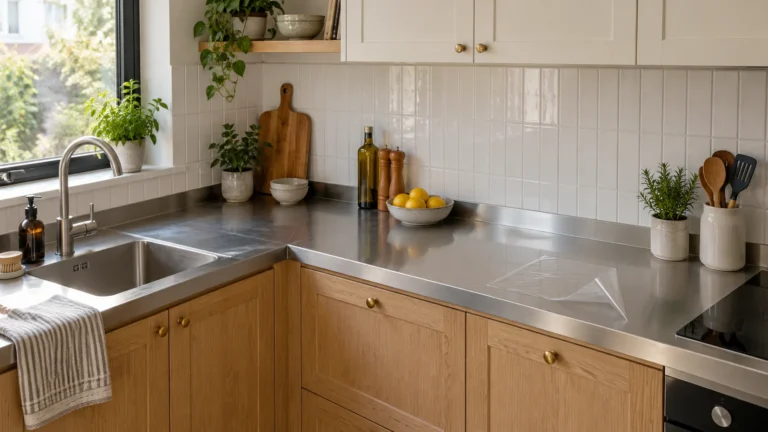
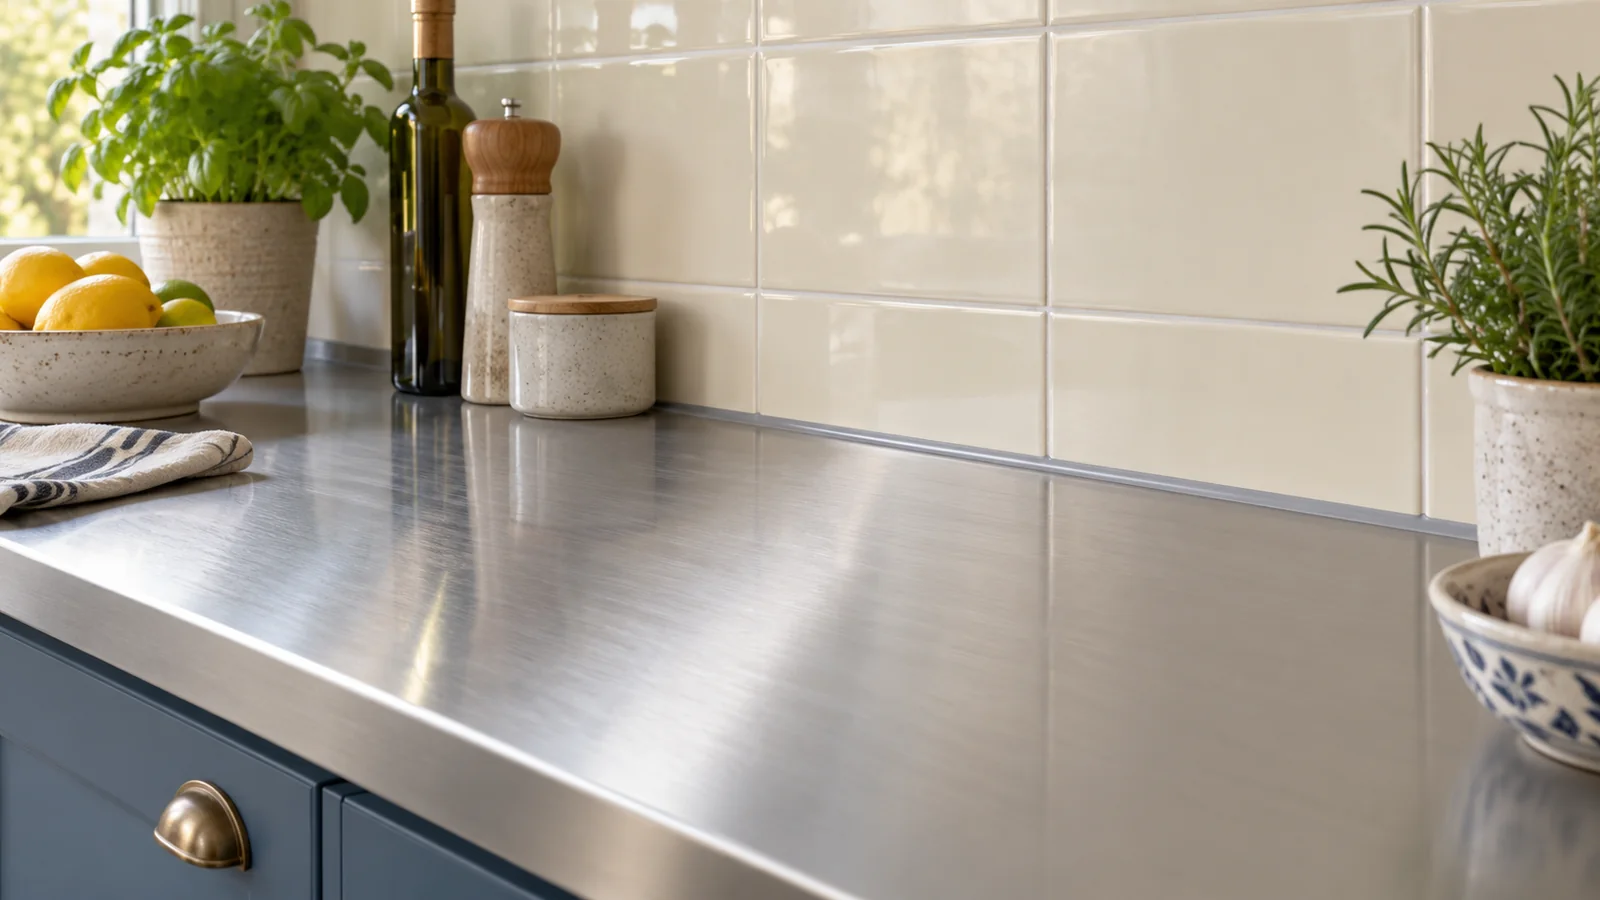
In a residential stainless-steel kitchen, the worktop may meet ceramic tile, painted plaster, an upstand or another wall finish. Those are different substrate combinations. An integrated metal upstand also leaves a separate interface where its top or end meets the building.
Start with the drawing and the actual gap
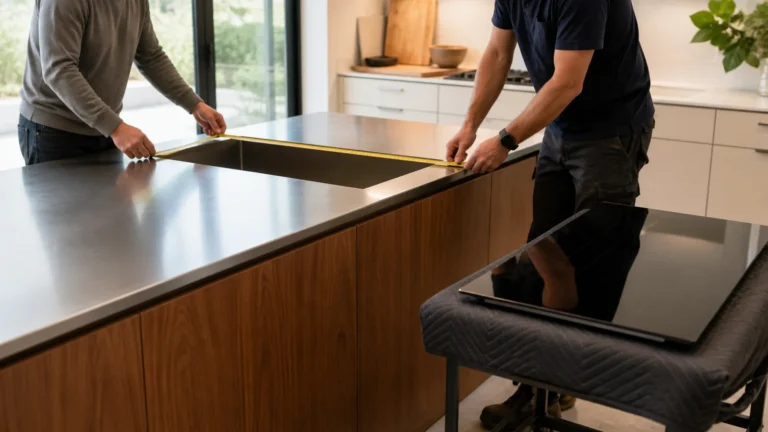
Compare the installed run with the approved plan and section. Was a wall joint shown? Was an upstand included? Which party checked the finished wall before the top was made? Record where the gap changes and whether the worktop appears properly supported, without trying to force it back against the wall.
Ask the installer to assess a gap that is unexpectedly wide, uneven or changing. A sealant detail should accommodate the intended joint; it should not be used as the explanation for an unresolved support or measurement problem. This article does not prescribe a universal acceptable gap because the surfaces, geometry and chosen sealing system vary.
- A consistent planned joint: compare it with the specified sealing detail.
- A locally widened area: request a fit assessment and an explanation of the wall condition.
- A joint that has opened since handover: document the change and ask for an inspection.
- Wetness behind or below the worktop: report water ingress as a separate issue before cosmetic resealing.
Choose for both surfaces, not the word silicone
The January 2023 SikaSeal Kitchen and Bathroom data sheet gives a useful example of how specific sealant instructions can be. It requires clean, dry, sound substrates, removal of previous silicone residue and appropriate joint design. It describes preparation for stainless steel, calls for project-substrate adhesion checks and excludes natural stone. It also directs users to the relevant local data sheet.
Those conditions belong to that named product and regional document. Ask your installer to select the actual sealant against both surfaces, including any coating, and use its current local instructions. A product suitable for bare steel is not automatically approved for the neighbouring wall finish or decorative surface.
The cartridge colour is a separate choice from compatibility. Agree the visible sample, but retain the product name, preparation method and curing instructions as well. Avoid using a mould-resistance claim as a promise that the joint will never need cleaning or replacement.
Specify the joint as an installation detail
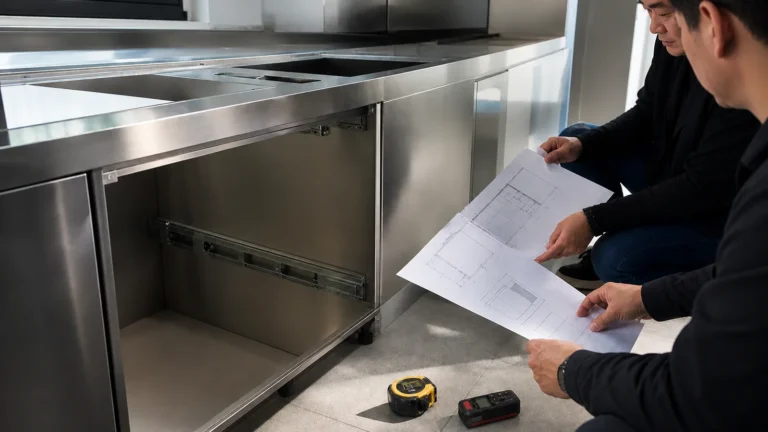
A useful drawing shows the worktop edge or upstand, the wall finish and the intended joint in section. It should identify who prepares each surface, who supplies and applies the sealant, and how the finished joint will be checked. Where backing material or another construction detail is proposed, have the responsible installer confirm it with the sealing-system supplier.
Take extra care at ends, corners and transitions. A straight run can look neat while leaving a poorly resolved junction near a sink, window return or adjoining material. Ask for those locations to appear in the review photographs and drawing notes.
For the broader choice between a flat top and a formed upstand, see our integrated backsplash guide. The decision to include an upstand does not eliminate every building-interface joint.
If old silicone keeps peeling, review the cause
Describe the failure before anyone replaces it. Is the bead detaching from the steel, the wall or both? Is it torn through its middle, recessed into the gap or loose at one end? Has the surrounding worktop moved? Photograph these conditions while the original material is still visible.
Ask the repairer to review preparation, substrate compatibility and joint geometry against the chosen product’s instructions. If the old material must be removed, agree a method that protects the steel finish and adjoining surfaces. A sharp scraper or an unapproved chemical can introduce a second problem while addressing the first.
Do not prescribe a universal solvent or apply new material over an unexplained failed bead. Obtain a plan for removing residues, allowing the surfaces to reach the required condition and keeping the wet area out of use for the specified curing period.
Keep cleaning separate from repair
A discoloured joint and a detached joint require different questions. Ask whether the visible issue is removable surface soil, a change in the sealant or a break in the seal. Colour alone cannot establish whether water is passing through it.
Use the care instructions for the sealant and every adjoining finish. Our bleach and stainless-steel guide explains why a general cleaning habit should not become an unreviewed treatment for the whole interface. If the joint is loose, cracked or leaking, cleaning is not a substitute for an inspection.
What to retain at handover
- Approved section and photographs of the completed ends and corners.
- Sealant product reference and the applicable local instructions.
- The agreed preparation, curing period and return-to-use conditions.
- Any deviations from the original wall survey and how they were resolved.
- The local party responsible for inspecting or renewing the building-interface joint.
For imported custom worktops, arrange this review before manufacture when possible. Local wall measurements and installation remain the customer’s appointed team’s responsibility. Anray can review manufacturing interfaces within the agreed scope, but does not provide a local installation crew or certify the condition of the building wall remotely.
Questions about worktop-to-wall gaps
Can a neat bead hide a poorly fitted worktop?
It can obscure what is behind it, so assess the fit first. Request the agreed detail and supporting photographs before accepting a cosmetic finish over an unexplained gap.
Should every kitchen use the same gap size?
No universal size is given here. The responsible parties should coordinate the actual surfaces, intended movement and sealing system in the project detail.
Does an integrated upstand make the wall connection maintenance-free?
Do not assume so. Review its remaining joints with the wall and its ends, then retain the agreed cleaning and inspection instructions.
Review the project before production
Send your floor plan, destination and the exact equipment drawings for a preliminary kitchen-interface review. You appoint the local measurement and installation team; any manufacturing detail remains subject to the agreed drawings and scope.