Blog / Systems
Systems · Buyer guide
Planning Tap and Accessory Holes in a Stainless-Steel Worktop
The short answer
Plan every tap and accessory hole from the selected product’s current drawing, then check the fittings above and below the worktop together. Hole diameter alone is insufficient. Approve mounting locations, deck compatibility, handle movement and service access before fabrication, and avoid drilling speculative spare holes without an agreed purpose and closure detail.
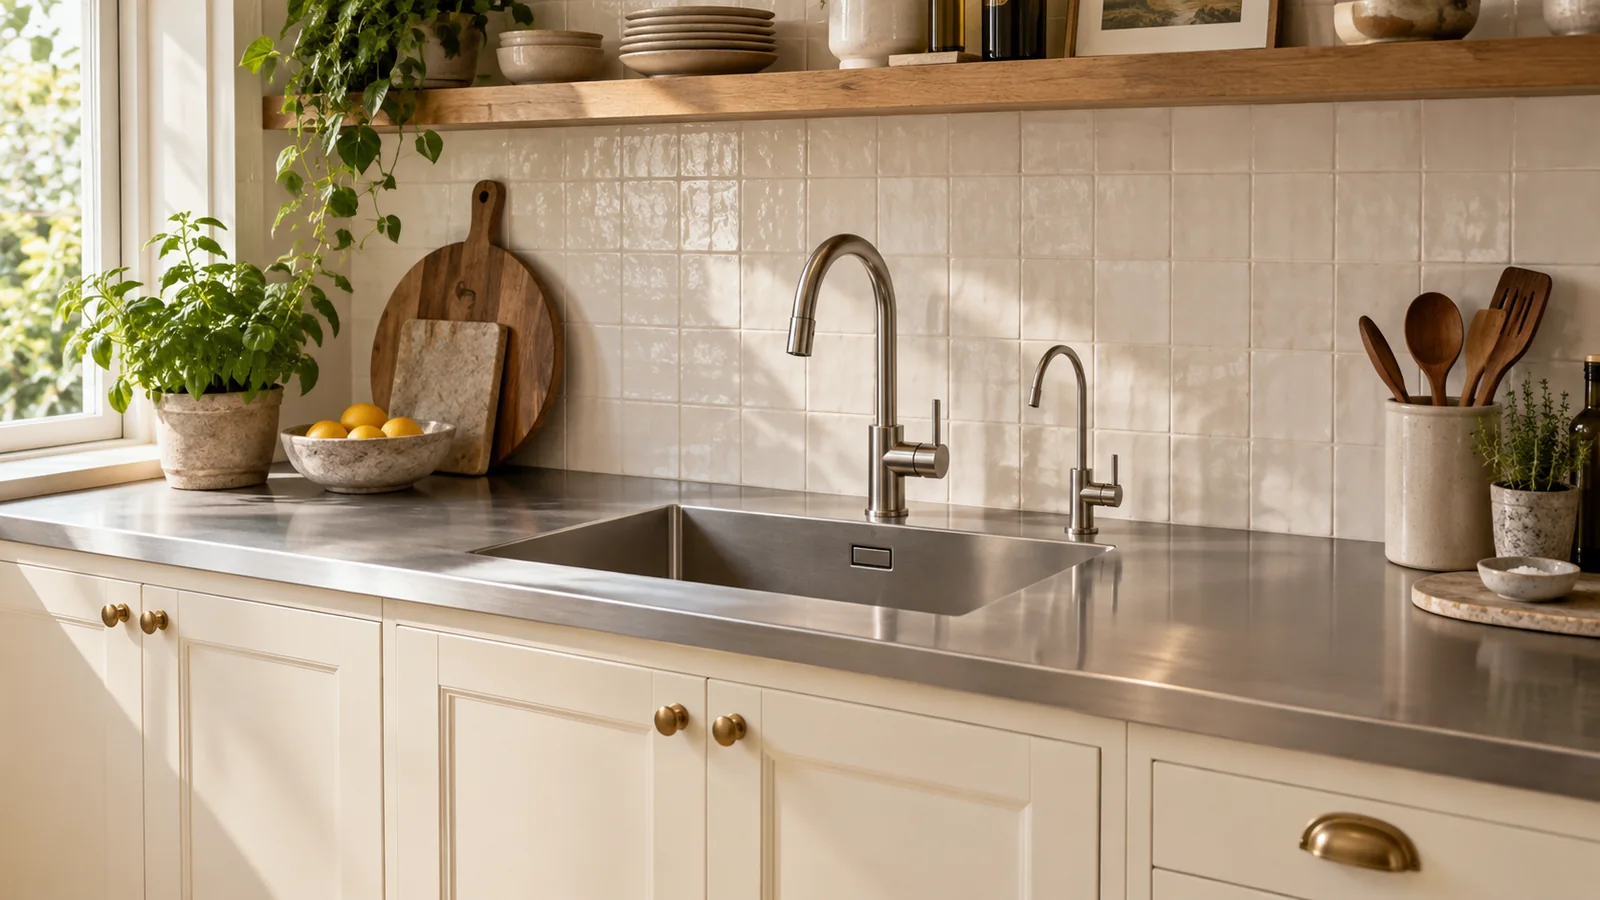
The taps can look neatly spaced above the sink while their fixing parts and hoses compete for space inside the cabinet. Check both views before deciding where to cut.
For a custom stainless-steel worktop with an integrated sink, the fitting schedule should be ready before the top is released for manufacture. If accessories will be bought in the destination country, send their exact product references early enough for the factory and local installer to review the same information.
Which fittings need a place on the worktop?
List what you actually intend to install. This may include the main mixer, a separate filtered-water outlet, a soap dispenser or a disposer control. Some products combine functions; others require separate parts. Do not reserve positions from a generic kitchen image and assume the eventual products will match.
For each outlet, think about the task. Can you place a normal drinking glass below the small water tap? Does the main mixer reach the useful washing area? Can you press a soap pump without reaching around another fitting? These questions are easier to assess when the drawing shows the actual bases and moving parts.
Kohler’s definition of spout reach uses the horizontal distance from the mounting-base centre to the water-stream centre. Use the appropriate model drawing to relate that dimension to the bowl. It does not provide a universal spacing between different accessories.
Draw each fitting at the intended location and try a full-size paper layout where practical. Include normal hand access, the backsplash and any opening window. Our separate guide to tap and window clearance covers those surrounding constraints.
Why is hole diameter only one part of fit?
The fitting must also clamp to the supplied deck arrangement. A model’s permitted countertop thickness, mounting hardware and required support must be checked against the actual worktop detail. The visible metal-sheet thickness may not describe the whole section through which the fitting is mounted.
For example, the Kraus KSD-80 installation guide gives a specific hole requirement and maximum countertop thickness. Its diagram also shows a mounting nut and bottle beneath the top. Although the bottle can be filled from above, it still needs space and access below. Those requirements belong to that dispenser, not to all soap pumps.
Ask the worktop supplier to show the proposed section through each mounting location. Have the fitting supplier or installer confirm any uncertainty about the fixing arrangement. Do not improvise a stack of washers, enlarge a hole or omit a component to make an unreviewed combination fit.
Label dimensions clearly. The visible base, the hole and the space needed by the mounting hardware are different measurements. A drawing needs to distinguish them.
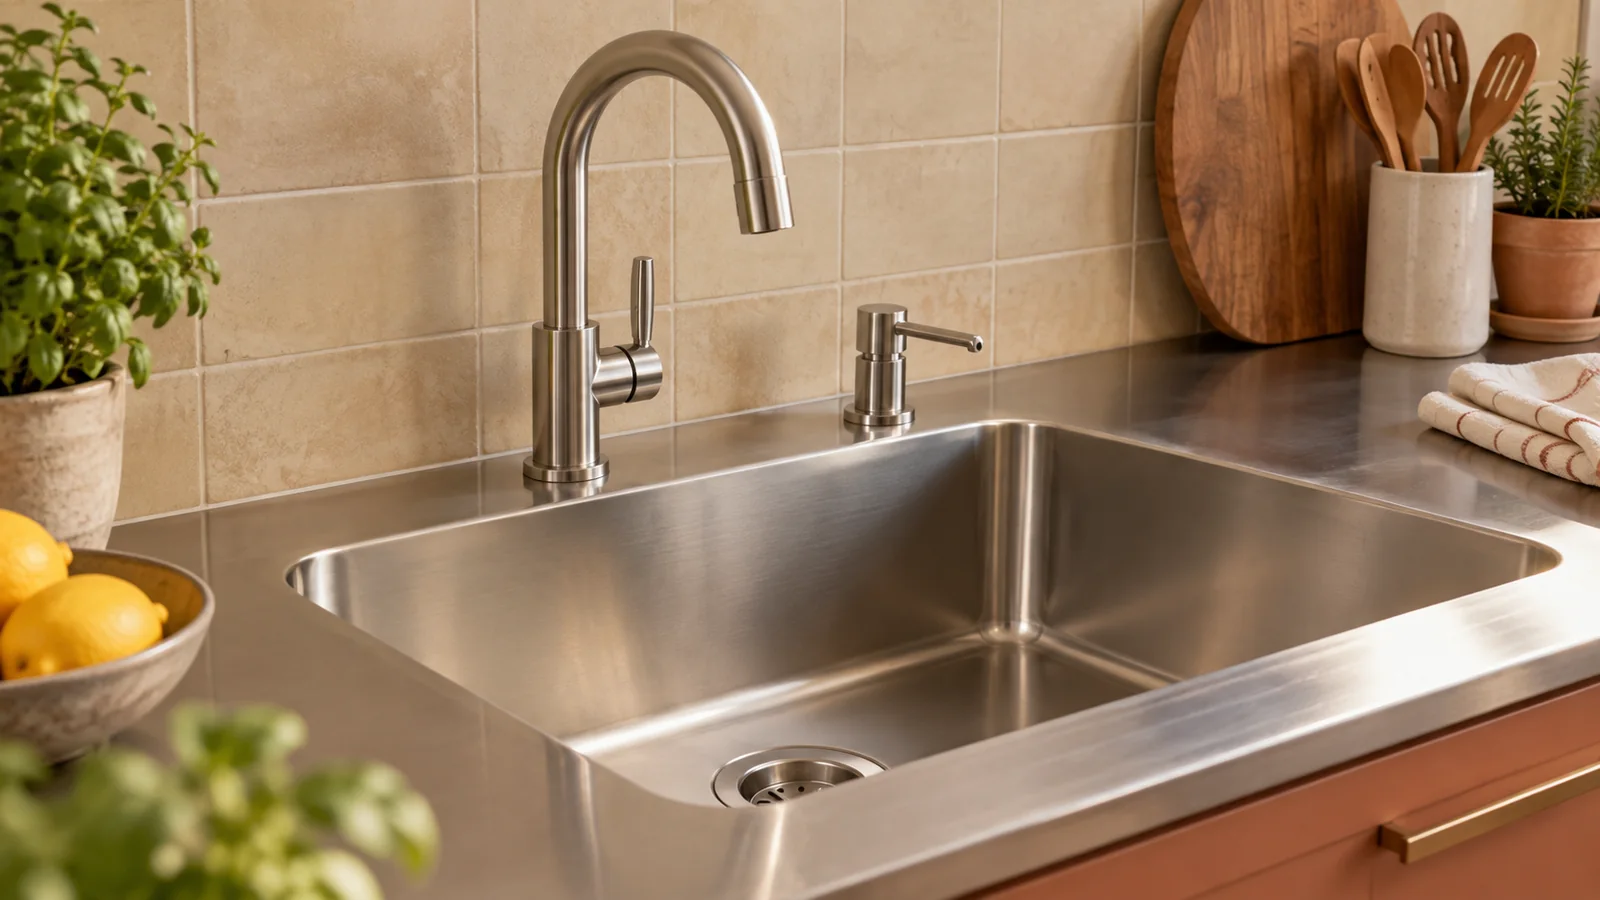
What must be checked below the deck?
Place the below-deck outline on the cabinet drawing. Include the sink bowl, its waste arrangement, cabinet rails, hinges, proposed storage and the equipment supplied with each fitting. For a pull-out mixer, obtain the required hose-movement arrangement from its installation instructions instead of assuming every empty gap is usable.
Give the local installer enough information to assess assembly and later service. A fitting may occupy little room after installation but need a larger working area when its securing nut or bottle is removed. Access through an open cabinet door also differs from access before the worktop is installed.
- Show the mounting parts and any required underside support.
- Identify hoses or moving components that must remain clear.
- Include the actual filter equipment if a drinking-water system is specified.
- Check how consumable parts will be replaced without dismantling unrelated cabinetry.
- Confirm that planned drawers, bins and shelves do not occupy the same space.
These are coordination checks, not generic installation instructions. Any filter, powered accessory or boiling-water system needs its own current manual and an appropriately qualified local installer. Do not transfer space or service requirements from a different product with a similar appearance.
Should you drill a spare hole for later?
What would the spare hole be for? Until the future accessory is selected, its required opening and preferred location remain unknown. A hole drilled now may not suit it.
Compare two proposals with the fabricator. One is to select the likely future product now and approve a specific opening with an appropriate closure detail. The other is to leave the worktop uncut and ask whether a later modification could be performed, by whom, and with what limitations. Neither route should be assumed available without review.
For an existing opening, do not assume that welding it closed will be invisible or economical. Ask for a repair assessment based on the actual finish and construction. This is a reason to make the initial decision carefully, not a guarantee about a repair method.
If the household is undecided about a soap dispenser, a freestanding bottle can keep the immediate layout flexible. It does not require committing the fabricated top to a particular future accessory.
What belongs on the approved hole schedule?
Assign a reference to each fitting and record the manufacturer, exact model, applicable drawing revision, cutout size and mounting position from agreed datums. Attach the below-deck coordination view and identify who supplies the product. Avoid dimensions measured from an undefined edge that may change during fabrication.
State whether each opening is factory-made, site-made by an agreed professional, or intentionally omitted. Identify who signs off the fitting compatibility and who checks the finished site measurements. A late model substitution should trigger review before anyone uses the old hole schedule.
For an Anray kitchen, send locally sourced tap and accessory drawings with the plan. The customer arranges site measurement and local installation. Give the factory and installer the same approved hole schedule, and replace it if a fitting changes.
Review the project before production
Send your kitchen plan, destination country and local installation arrangements for a preliminary specification review.