Blog / Systems
Systems · Buyer guide
How Do You Prevent Standing Water in an Integrated Stainless-Steel Sink?
The short answer
Standing water is controlled by the complete installed system, not by sink material alone. Specify bowl geometry, drain position, internal corner form and acceptable residual water; verify the fabricated bowl and drain connection; install the cabinet run level; then perform a recorded water test before handover. Do not promise a perfectly dry bowl without an agreed test method.
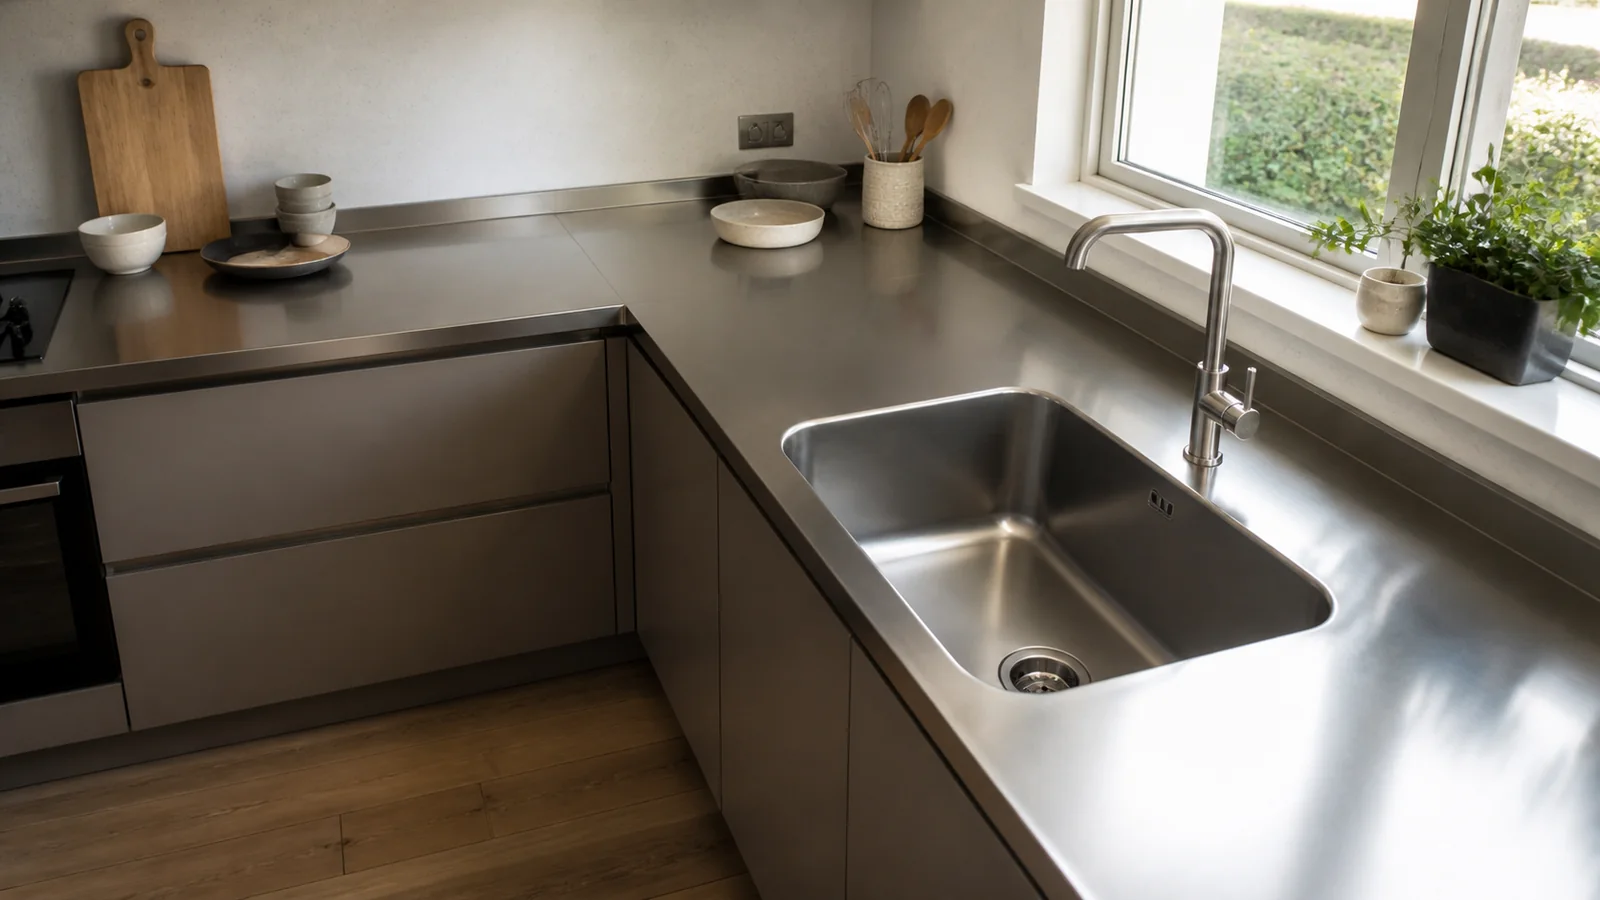
An integrated stainless-steel sink can create a clean continuous wet zone with no separate rim between bowl and worktop. That visual simplicity does not make drainage automatic. Bowl geometry, drain position, corner form, fabrication distortion, cabinet level, plumbing and the acceptance test all influence what the user sees after water runs.
Define performance before selecting geometry
“Must drain” is not a measurable requirement. Every wet sink can retain a thin water film, and droplets remain because of surface tension. The project team needs to distinguish normal film from a persistent puddle that does not move toward the drain.
Write an acceptance method before fabrication: the starting water volume or rinse method, the drain-down time, the area or depth of residual pooling that triggers review, and the viewing conditions. Do not promise a perfectly dry bowl unless a verified test and design can support that promise.
The current ASME A112.19.3/CSA B45.4 standard covers stainless-steel plumbing fixtures. Buyers should identify the applicable fixture standard and local plumbing requirements in the RFQ. A standards reference, however, does not replace a project-specific drainage and appearance acceptance plan.
Coordinate five drainage variables
- Bowl fall. The base needs intentional geometry toward the drain without making fragile items unstable.
- Drain position. Center, rear and offset drains affect storage, plumbing and the path water must travel.
- Internal corners and transitions. Very sharp corners maximize usable area but may collect residue and require more cleaning access.
- Fabrication stability. Welding, forming and finishing can distort thin sheet if the process is not controlled.
- Installed level. A correctly formed bowl can still appear to drain poorly if the cabinet run or worktop is twisted.
Current residential sink products illustrate these variables. One Kraus product describes a sloped bottom, channel grooves and rounded corners as product-specific features supporting drainage and cleaning. A Kohler Strive product similarly links a gently sloped bottom and rounded corners to reduced pooling and easier cleaning.
These examples do not establish a universal slope, radius or drain location for a custom integrated bowl. They show why those features must be deliberately selected and verified rather than left as “standard sink construction.”
Review corners and cleanability together
Online complaints often combine two issues: water remains in a flat zone, and residue collects in tight square corners. A larger corner radius can improve cloth access but changes the visual language and usable geometry. A flatter bowl may hold large cookware more steadily but gives water less gravitational assistance.
Approve the trade-off on a representative bowl or physical mock-up. Review how a hand, cloth, rack and strainer reach each corner. Ask whether the drain cover can be removed without special tools and whether the user can clean the transition between sink, upstand and faucet deck.
Do not copy a generic slope number
A single internet slope value cannot define every bowl width, depth, drain location, sheet construction and fabrication method. The fabricator should provide a section or 3D drawing showing the intended base geometry and drain relation. If the design includes a large flat base, the drawing should make clear how water is directed and what residual film is expected.
The project should also define whether a drainer, ribbed zone, channel or removable rack is included. Each feature changes cleaning, scratching, water retention and packing requirements. Treat it as part of the approved system, not a late accessory.
Separate fabrication from installation diagnosis
When a puddle appears in one corner, do not immediately grind the bowl or blame the plumber. Use a controlled sequence:
- Place the empty bowl and surrounding worktop in a clean, dry condition.
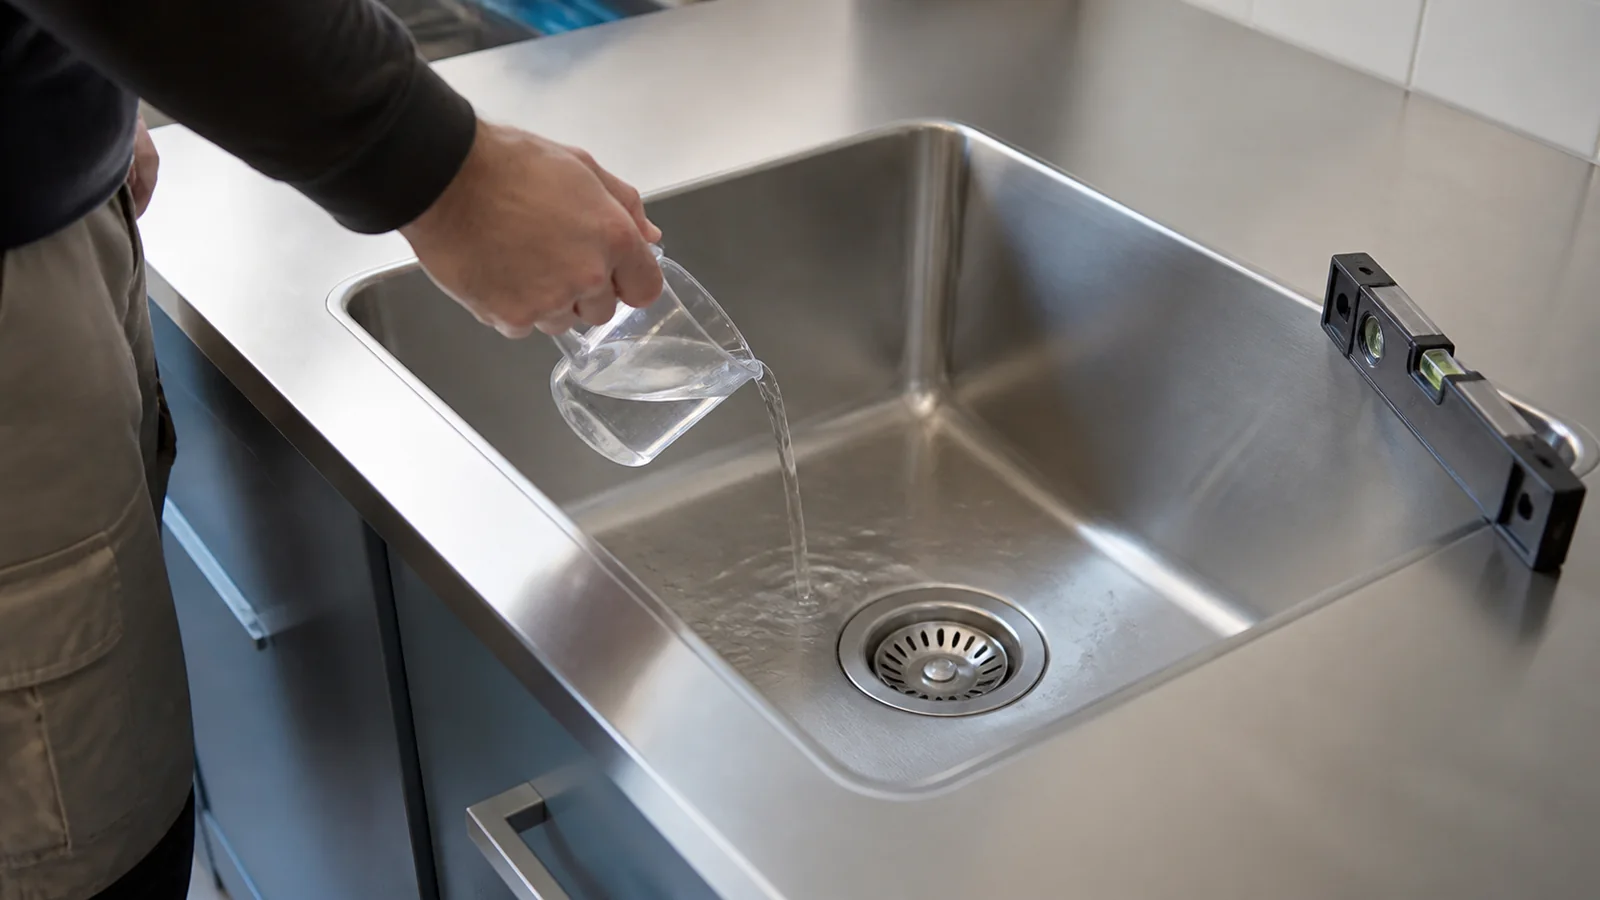
- Check the cabinet run and worktop level in both directions with an appropriate instrument.
- Confirm that adjustable feet, packers and wall fixings are secure.
- Check that plumbing does not pull the bowl or drain connection out of position.
- Run the agreed water test and record the flow path and residual area.
- Compare the installed result with the approved drawing and factory test.
This sequence connects directly to the guide on preventing site-fit failures in custom stainless kitchens. A worktop that fits the room but sits on an unlevel or twisted base is not fully coordinated.
Use factory and site water tests for different purposes
| Test stage | What it can verify | What it cannot isolate |
|---|---|---|
| Factory bowl test | Fabricated geometry, obvious low points, drain opening and leakage before packing | Final cabinet level, site plumbing and wall conditions |
| Dry site level check | Cabinet and worktop support condition before plumbing load | Drain-down behavior under water |
| Final handover water test | Installed flow path, connection leakage and residual pooling | Future misuse, blocked strainers or building movement |
Keep photographs or short video, instrument position, test time, cabinet ID and result. If the project uses several identical bowls, define a sampling plan and the conditions that trigger 100% inspection.
Assign responsibility before a complaint
The designer owns functional geometry and appliance coordination. The fabricator owns the approved bowl construction and factory QC. The cabinet supplier and installer own the support and level within their agreed scope. The plumber owns the waste connection and leakage within the plumbing scope. The main contractor must coordinate the interfaces. Writing this into the responsibility matrix is more useful than debating ownership after a puddle appears.
Put compliance in the RFQ
- Applicable sink or plumbing-fixture standard and local approval route.
- Bowl dimensions, corner form, drain position and waste connection.
- Expected residual water and the acceptance test method.
- Factory water-test record and protection before packing.
- Cabinet-level and worktop-support requirements.
- Plumbing access, strainer removal and cleanability.
- Correction route if geometry, installation or plumbing causes pooling.
Drainage and moisture are connected but not identical. If the sink underside becomes wet without a visible leak, use the guide on condensation inside the sink cabinet. For surface deposits created by retained droplets, follow the hard-water spot guide.
Red flags before approval
- The supplier promises “zero water” but has no test method.
- The drain, corners and bowl base are absent from the approved section drawing.
- The sink sample is reviewed only before it is supported or connected.
- No one checks cabinet and worktop level at site.
- Factory and site tests use different, undocumented criteria.
- The proposed correction is local grinding without a finish and geometry review.
Bottom line
A reliable integrated sink is the result of coordinated geometry, controlled fabrication, level installation, accessible plumbing and a realistic water test. Specify residual-water acceptance before production and diagnose the installed system in sequence; the material name alone cannot guarantee drainage.
Review the project before production
Send your floor plan, destination country and project quantity for a preliminary specification review.