Blog / Project Process
Project Process · Buyer guide
If One Stainless-Steel Cabinet Door Is Damaged, Can It Be Repaired or Replaced?
The short answer
First identify the actual front: wood-look, painted, coated, coloured, patterned or exposed bare stainless. A residential stainless-steel kitchen does not make every door bare silver metal. Superficial marks on repairable directional stainless may be recoverable, but dents, failed edges, structural damage and specialised finishes often favour replacement. Preserve approved samples, drawings and hardware records because exact matching is not guaranteed.

The title reflects how buyers search, but it can carry a false construction assumption. A residential stainless-steel kitchen may have a hidden steel carcass and a stainless worktop while its visible fronts are wood-look, painted, coated, coloured or patterned. The first decision is therefore not “repair or replace.” It is “What is the actual front surface and what exactly is damaged?” Soil, adhesive residue, a light finish mark, a deep scratch, a dent, a crease, an open edge and a failed hinge fixing require different routes.
First classify the damage
| Condition | Initial direction | Important caution |
|---|---|---|
| Soil, fingerprint or removable residue | Clean with the supplier-approved method | Do not turn contamination into a scratch with abrasive tools |
| Light mark on bare directional finish | Obtain a professional repair assessment and test on a sample | Local blending may create a brighter patch or different grain |
| Deep scratch, gouge or visible cross-grain damage | Compare controlled refinishing with replacement | Removing the line may change the surrounding finish |
| Dent or crease | Assess panel construction and hidden damage; replacement is often more predictable | Surface reshaping may not restore flatness or internal bonding |
| Damaged fold, edge, seam or hinge mounting | Stop using the door if function is affected and ask the manufacturer to assess replacement | The problem may be structural, not cosmetic |
| Wood-look, painted, coated, coloured or patterned decorative front | Use the front supplier’s surface-specific repair route; replacement may be safer | Generic stainless polishing is irrelevant and can permanently alter the finish |
| 2B, bright-annealed, embossed or other specialised bare-metal face | Obtain finish-specific professional advice; replacement may be required | Local abrasion may not reproduce the factory appearance |
ASSDA advises working with the grain of brushed stainless and warns that cross-grain rubbing can spoil the finish. Its indoor cleaning guidance applies only to exposed bare stainless. For wood-look, painted, coated, coloured or patterned fronts, the front supplier’s documented care and repair system controls.
Some exposed bare directional stainless finishes may be repairable
ASSDA’s No. 4 finish guidance describes it as a directional finish that can be refinished, and Outokumpu notes that polished surfaces are generally easier to recreate and blend than 2B, bright-annealed or patterned surfaces. That does not mean an on-site repair will become invisible.
A successful result depends on matching the abrasive sequence, grain direction, pressure, surrounding appearance and viewing conditions. Repair can also enlarge the affected area because the finisher must blend beyond the original scratch. Test the proposed method on a retained sample or concealed area before touching the installed face.
When replacement is usually the safer direction
- The door is creased, twisted or no longer closes correctly.
- An edge return, seam, corner or hardware fixing is damaged.
- The panel has an internal core, bonding or reinforcement that may have separated.
- The visible surface is coloured, coated, patterned or otherwise unsuitable for local blending.
- The repair would remove a manufacturer marking, coating or warranty condition.
- The project has a retained sample and complete records that make remanufacture more predictable.
The Nickel Institute’s installation guidance for stainless components notes that site repair of some chemically coloured or painted finishes is normally not possible, making damage prevention especially important. Confirm the actual cabinet finish rather than applying that statement to every stainless door.
Why a replacement may not match automatically
For an exposed bare-metal front, “No. 4” or “brushed stainless” is not a guaranteed visual match. ASSDA explains that No. 4 appearance can vary with producer, abrasive sequence, belt condition and orientation. It recommends using material from the same pack and retaining reference samples when appearance is critical.
Decorative fronts have a different matching problem: colour, gloss, texture, print, coating batch and ageing can all matter, and stainless grain terminology may not apply at all. Time adds another variable because the installed front accumulates cleaning history, fine wear and environmental change while the replacement is new. A perfect match may not be commercially available even when the nominal finish code is the same.
Before ordering, agree the response if one new door differs visibly. Options may include accepting a controlled variation, refinishing a larger coordinated area, replacing a pair of adjacent fronts or replacing an entire visual group. The correct choice depends on cost, availability and the importance of the elevation.
Create a replacement record before production
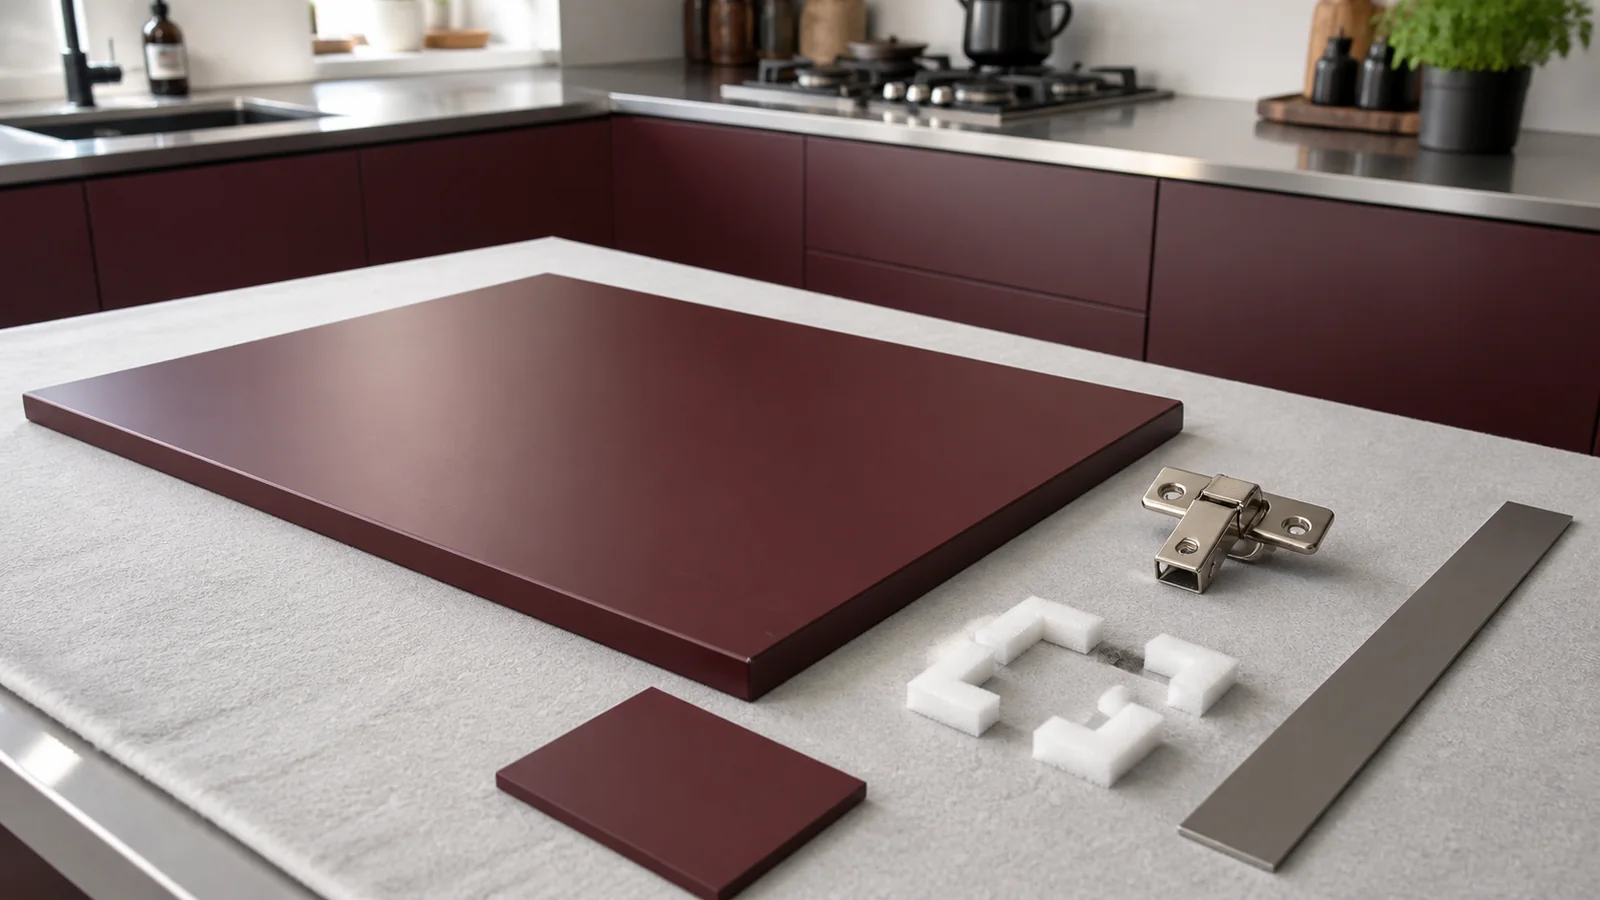
A photograph and rough width are not enough to remake a custom door. Preserve a compact “door passport” for every visible front type:
- Project, room, elevation, cabinet and front ID.
- Approved drawing number and revision.
- Finished width, height, thickness and edge geometry.
- Front handing, opening direction and adjacent reveal target.
- Visible-front system: wood-look, painted, coated, coloured, patterned or exposed bare metal.
- Substrate and panel construction, including backing, core or reinforcement where disclosed.
- Stainless grade, product form and traceability reference only for the stainless component being replaced.
- Finish code and retained master sample; record grain direction only for a directional exposed-metal finish.
- Colour, gloss or texture control data for decorative finishes.
- Hinge, mounting plate, drilling pattern, handle and accessory references.
- Protective film, packaging method and installation notes.
This record should remain with the buyer or dealer as well as the supplier. It reduces dependence on one person’s memory or an old messaging thread.
Use a repair-or-replace decision sequence
- Photograph the full elevation and the damage under neutral and grazing light.
- Record the door ID, drawing revision, finish and hardware model.
- Check whether the problem is contamination, cosmetic finish damage or construction damage.
- Confirm whether the surface is bare directional stainless, mill finish, patterned, coloured or coated.
- Ask the original supplier or a competent stainless finisher for a written repair position.
- Test any cleaning or refinishing method on a retained sample first.
- Compare repair risk, replacement match risk, freight, installation and downtime.
- Agree the acceptance condition before work starts or a replacement is made.
Do not begin with improvised polishing
Steel wool, an unknown abrasive pad, random sandpaper or a power tool can deepen damage, contaminate the surface or create a patch that is more visible than the original defect. A consumer “stainless polish” may clean or add a temporary film but will not rebuild a folded edge or restore a creased panel.
Do not remove a coating or protective layer until the finish manufacturer is identified. If the damage is part of a freight claim, preserve packaging and evidence before attempting repair. The shipping-damage and missing-parts checklist explains the receiving record.
Plan the replacement logistics
- Confirm whether the replacement is supplied as a complete door or a skin, panel or hardware set.
- Protect visible faces and corners for the full international and local route.
- Label the part with the same cabinet and elevation ID used in the drawings.
- Include required mounting hardware only when compatibility is confirmed.
- Define who removes the old door, adjusts the replacement and disposes of packaging.
- Inspect the part before installation under agreed lighting and retain claim evidence.
For imported custom cabinetry, a low-cost part can still create high freight and coordination cost. Include serviceability when evaluating whether stainless-steel cabinets are worth the cost for a villa project.
Questions to put in the RFQ
- Which finishes can be locally repaired, and which normally require replacement?
- Will the supplier retain approved finish samples and production records?
- How long are drawings, hardware references and material batch records retained?
- Can a single door be remade, and what minimum order, lead time and matching limitation applies?
- Who pays for replacement, freight and local adjustment under each damage scenario?
- What evidence is required for a transit, manufacturing or installation claim?
- What happens if the original finish or hardware is discontinued?
Bottom line
Identify the actual residential front before choosing a remedy. A superficial mark on repairable exposed bare directional stainless may be recoverable, while dents, failed edges, hidden construction damage and specialised decorative finishes often make replacement more predictable. Exact matching is never automatic. Preserve the approved front sample, drawing, construction, finish and hardware record before production so one damaged front does not become an unsolved project.
Review the project before production
Send your floor plan, destination country and project quantity for a preliminary specification review.