Blog / Project Process
Project Process · Buyer guide
How Can You Tell Whether Stainless-Steel Kitchen Cabinets Are Well Made?
The short answer
In residential systems, stainless may form the hidden carcass and visible worktop or sink interfaces, while fronts are wood, painted or coloured. Judge quality from a representative system sample: verify construction, exposed finishes, hardware, alignment, material traceability, drawings and inspection records together. A grade name, magnet result or sheet-thickness figure alone cannot prove that the kitchen is well made.

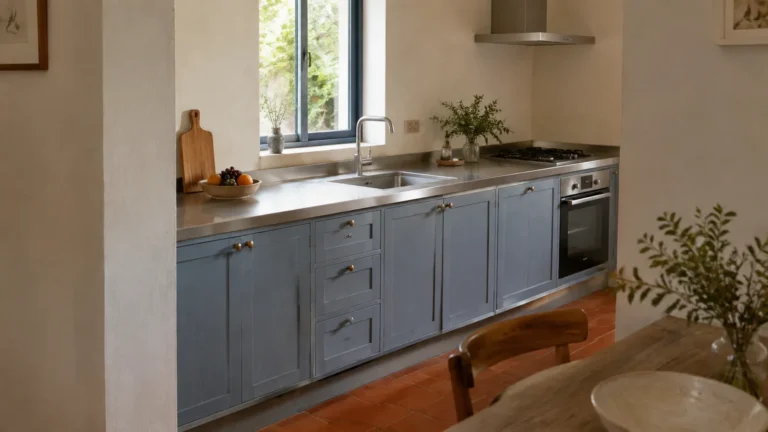
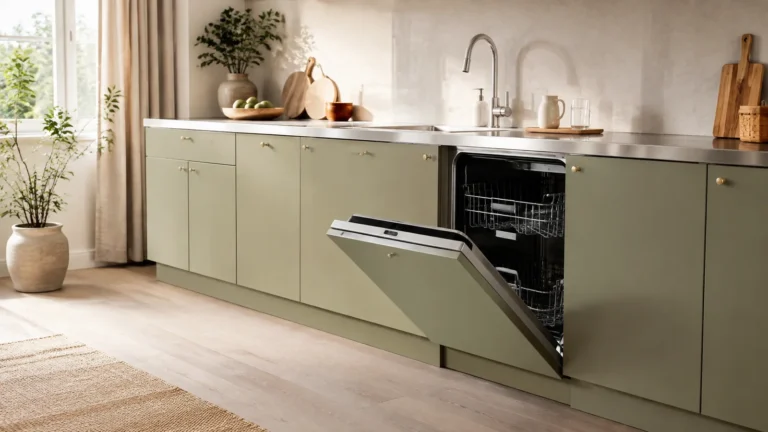
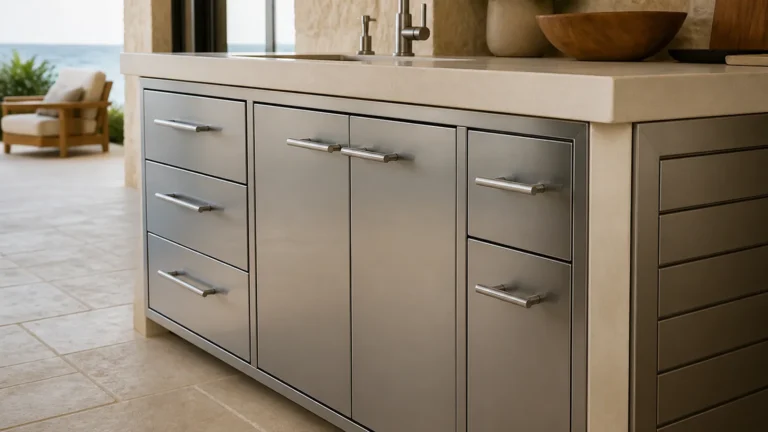
First identify the system being evaluated. In a residential stainless-steel kitchen, wood-look, painted or coloured fronts may conceal a stainless carcass, while exposed stainless is concentrated at the worktop, sink, low upstand and appliance cut-outs. A polished showroom front can still hide weak documentation, unresolved hardware or a finish that will be difficult to match later. “Well made” therefore needs an agreed inspection method tied to the actual bill of materials, not an impression or an all-silver visual stereotype.
Quality is a system, not a grade label
A 304 or 316 label describes an alloy family; it does not tell you how a door is folded, reinforced, joined, mounted, adjusted or protected. It also does not identify the visible finish, hardware model, inspection tolerance or packaging method. The British Stainless Steel Association’s explanation of EN 10204 makes the distinction clear: an inspection certificate has a defined documentary role, while the applicable steel product standard must be specified separately.
Do not replace one shortcut with another. A magnet and visual appearance cannot reliably establish the grade, and a nominal sheet thickness does not describe the complete panel. Quality review must connect material identity to the finished cabinet.
Begin with a representative cabinet sample
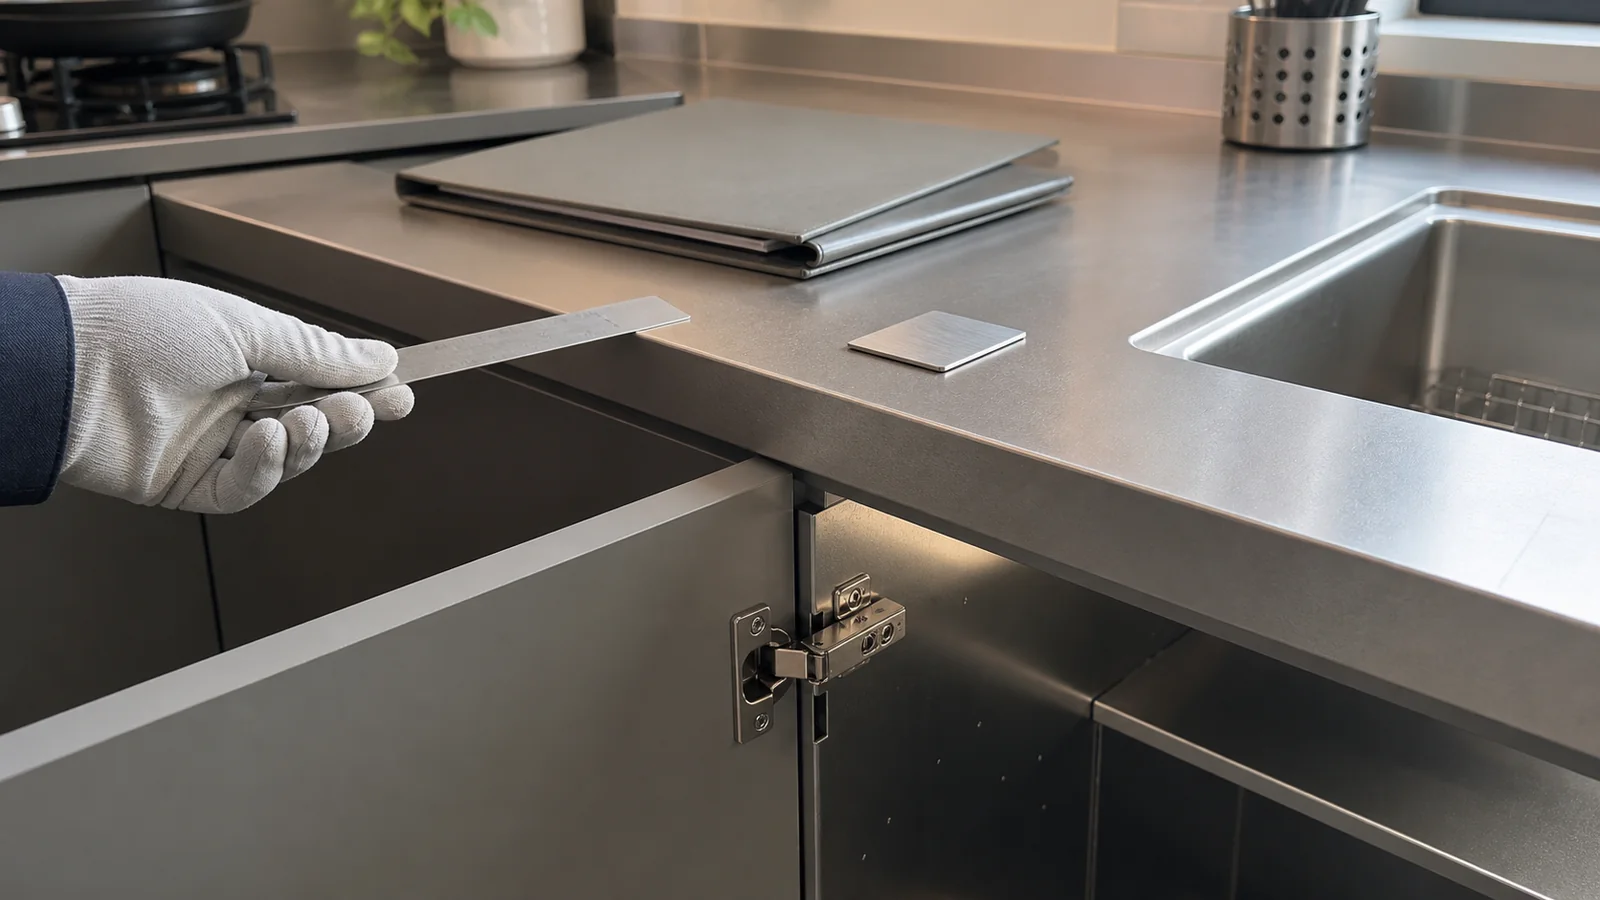
A loose decorative-front sample is useful for colour and finish, but it cannot show hinge mounting, reveals, drawer motion, cabinet squareness or how the front relates to the hidden body. Before a substantial custom order, request a representative cabinet or mock-up that uses the proposed residential front, internal construction, stainless worktop edge and named hardware.
The sample should challenge the design rather than show only the easiest component. Include a large proposed front, one opened front that exposes the inner cabinet, a working hinge or drawer, a filler or end panel, and the stainless worktop-to-front interface. Where relevant, include the proposed sink junction, low upstand and cooktop or appliance cut-out. If the project has several construction types, define which ones require separate samples.
Inspect panel construction, not only stated thickness
Ask the supplier to show a section or approved drawing of each major panel type. A door may be a folded skin, a double-skin assembly, a bonded construction or a formed panel with local reinforcement. None of those descriptions is automatically superior in every size and use case. The buyer needs to know what is actually quoted and how the proposed construction behaves in the representative sample.
| Inspection point | What to examine | Evidence to retain |
|---|---|---|
| Front face | Flatness in normal viewing light, local rippling and visible read-through | Approved sample photographs under agreed lighting |
| Edges and returns | Consistency, sharp projections, open seams and exposed unfinished areas | Section drawing and close-up photographs |
| Back of front | Reinforcement, bonding, access and finish of concealed fabrication | Construction detail or controlled sample opening |
| Hardware mounting | Fixing method, local stiffness, access for adjustment and replacement | Hardware schedule and drilling pattern |
| Large panels | Twist, bow, oil-canning appearance and behaviour during opening | Largest representative sample or pre-production mock-up |
Do not accept an unsupported “dent-proof” or “heavy-duty” statement. If impact or loading is important, define a project-specific sample test, load case and acceptance record.
Check the visible finish under controlled conditions
Finish names are not precise enough for demanding residential work. For exposed stainless surfaces, ASSDA notes that mechanically produced finishes depend on multiple process variables and that nominally identical finishes can vary. Its surface-finishing guidance recommends defining measurable requirements where necessary and reviewing architectural samples under relevant viewing conditions.
Approve separate retained master samples for exposed stainless and for every decorative-front family. Record grain direction only where a directional bare-metal finish is actually specified; also record the viewing face, lighting, distance and angle used for acceptance. Check fronts, end panels, fillers, plinths, worktop edges and sink or appliance interfaces together because one small sample cannot show the complete elevation.
Inspect fabrication and surface protection
Look beyond cosmetic polish. ASSDA identifies embedded iron, contaminated abrasives, scratches, weld spatter and poor handling as common stainless-steel fabrication risks. It also recommends careful storage and protective film during handling and installation. Read its fabrication traps guide.
- Inspect corners, cut-outs, weld areas and ground zones for inconsistent finishing.
- Ask how stainless work is separated from carbon-steel grinding and handling.
- Confirm when protective film is applied, inspected and removed.
- Define how adhesive residue, transit marks and installation damage will be recorded.
- Require the supplier to identify any coloured, coated or patterned surface that needs a different care method.
Check alignment without confusing installation with fabrication
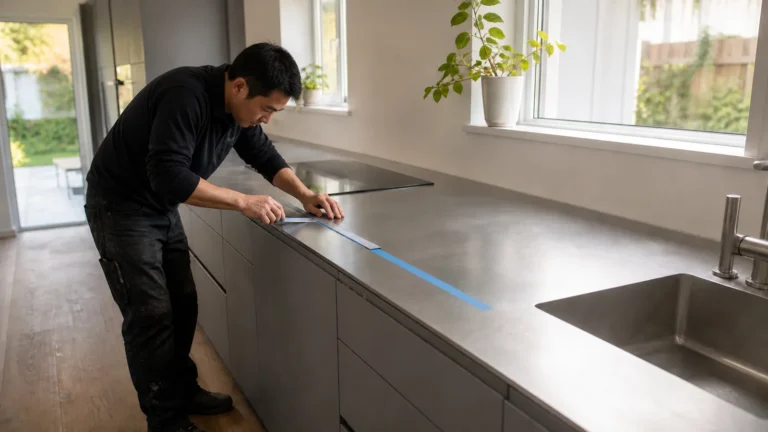
Uneven reveals can come from panel dimensions, an out-of-square cabinet, hinge settings, an unlevel installation or movement during transport. Inspect the sample on a level base before assigning the cause. Then ask the supplier to state the intended door and drawer reveals and the acceptance method in the approved drawings.
There is no useful universal reveal number for every door size, overlay system and hardware platform. What matters is that the project has one documented target, that adjacent fronts read consistently, and that the local installer has enough adjustment range to achieve it.
Verify hardware as a named component
“Premium hinges” and “soft-close drawers” are not specifications. Record the manufacturer, series, model, finish, mounting plate, runner length, opening angle, load basis where relevant, and replacement route. Confirm that the hardware matches the door weight and geometry proposed by the cabinet supplier.
Operate the sample repeatedly. Listen for rebound or rattle, check whether fronts remain aligned, and confirm that adjustment screws and removable parts remain accessible. This is a functional comparison, not a laboratory endurance claim.
Verify documents and traceability
Ask how the mill document, incoming sheet, cut parts and finished cabinet remain linked. ASSDA’s grade-confirmation guidance explains that testing becomes relevant when documentation or traceability is missing, but it also warns that surface finish, design and fabrication can be the real cause of poor performance. A material certificate is useful only when its identifiers can be traced to the material used.
- Purchase specification naming the grade and applicable product standard.
- Requested inspection document type, where commercially justified.
- Heat, coil or batch identifiers and the supplier’s transfer method after cutting.
- Approved drawings with revision status.
- Finish master sample and grain-direction record.
- Hardware schedule and replacement references.
- Pre-production, in-process and pre-shipment inspection records.
- Cabinet and package numbering matched to the installation drawings.
Use a short sample-approval sequence
- Confirm that the sample represents the quoted construction and hardware.
- Place it level and inspect the largest front from normal viewing positions.
- Compare every visible surface with the retained finish sample.
- Open, close and adjust doors and drawers; record any movement or rattle.
- Inspect edges, corners, cut-outs, concealed faces and hardware fixings.
- Match material and hardware records to the sample identifiers.
- Record accepted conditions, deviations and required corrections in writing.
- Do not release production until the approved drawings and sample tell the same story.
Red flags that justify stopping approval
- The supplier will state only “304” or “316” but will not describe panel construction.
- The finish is approved only from a photograph or a small screen image.
- Hardware has no model reference or replacement route.
- The largest door or end panel is excluded from sampling.
- Material documents cannot be connected to incoming stock or finished parts.
- Inspection criteria are introduced only after a dispute.
- Protective-film removal, local adjustment and damage responsibility have no owner.
Questions to put in the RFQ
- Which parts are stainless steel, and what is the construction of each panel type?
- Which sample will represent the largest visible front and critical interface?
- How will the approved finish, grain direction and viewing conditions be recorded?
- What hardware manufacturer and exact models are included?
- Which material documents are supplied, and how is traceability maintained after cutting?
- What dimensional, visual and functional checks are recorded before packing?
- Who adjusts the cabinets at site, and what issues remain the local installer’s responsibility?
Use these answers together with the custom cabinet quotation comparison guide. For visible-wear expectations, review scratches, dents and fingerprints. Material-grade verification is covered separately in the magnet and traceability guide.
Bottom line
A well-made stainless-steel kitchen cabinet is not proven by one impressive material term. It is proven by a coherent chain: defined material, appropriate panel construction, controlled finish, named hardware, consistent assembly, approved drawings, traceable records and an inspection method agreed before production.
Review the project before production
Send your floor plan, destination country and project quantity for a preliminary specification review.