Blog / Project Process
Project Process · Buyer guide
Where Should Seams Go in a Custom Stainless-Steel Kitchen Worktop?
The short answer
Place seams where they can be fabricated, transported, installed, finished and inspected without weakening a wet zone or disrupting drainage. Avoid sink corners, narrow cooktop bridges and high-visibility focal areas when practical. The final location must be coordinated with sheet size, access route, supports, wall geometry and the chosen site-joint method.
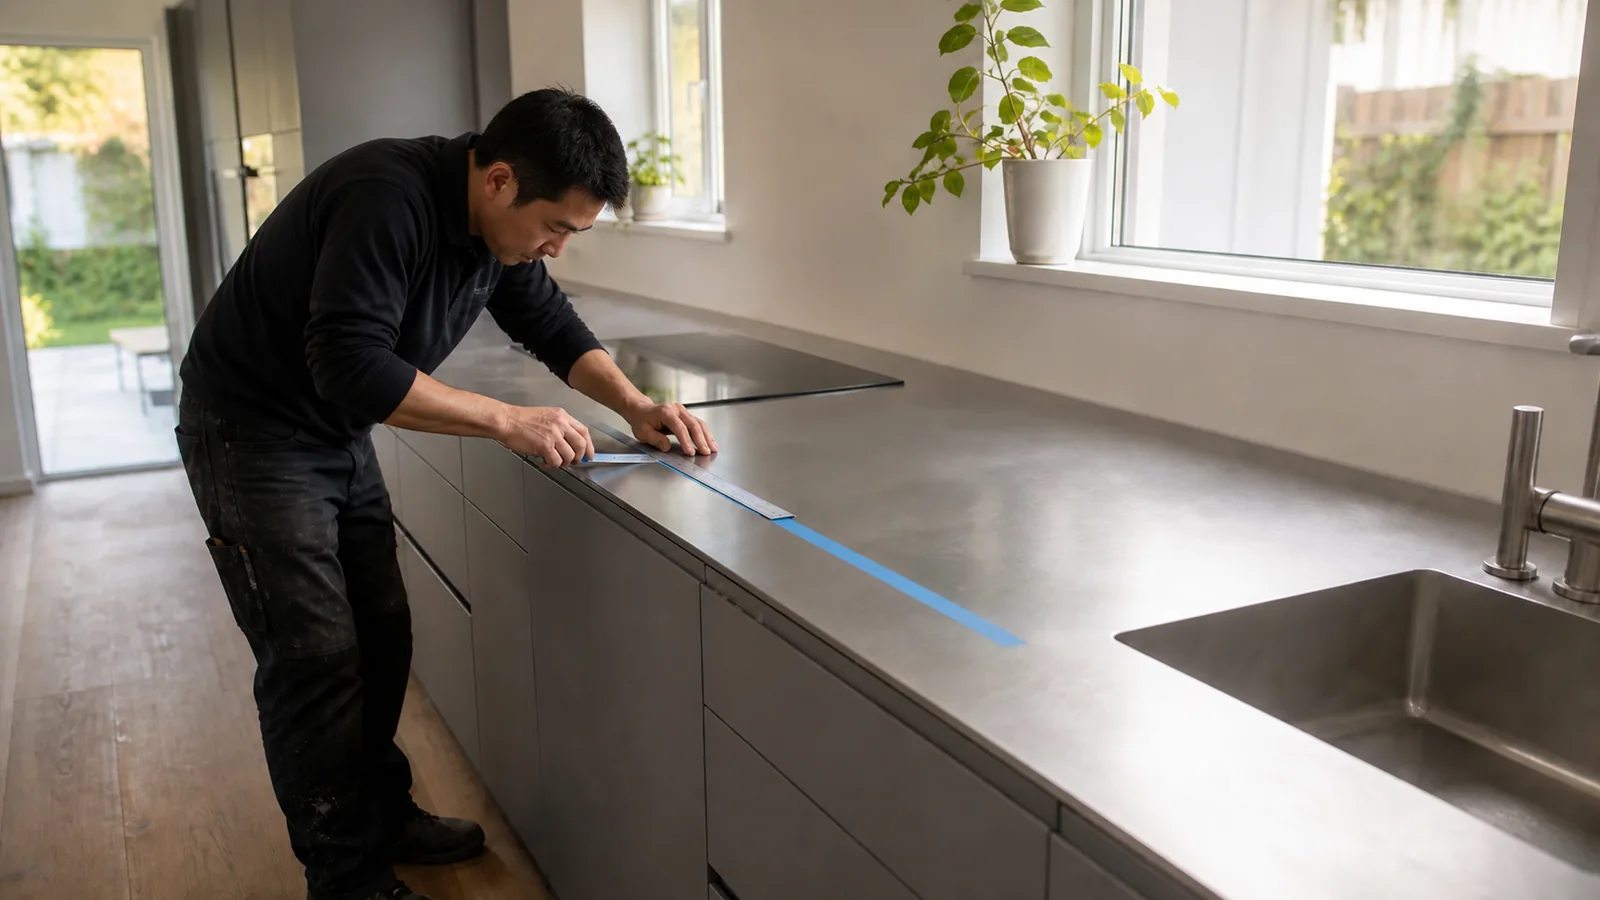
A custom worktop may need a seam because the finished shape is larger than available sheet, fabrication equipment, packing limits or the route into the home. The seam is therefore both a design detail and a logistics decision. Hiding it on a drawing while leaving delivery and site finishing unresolved creates a larger risk than showing and controlling it early.
Why a one-piece worktop is not always the best answer
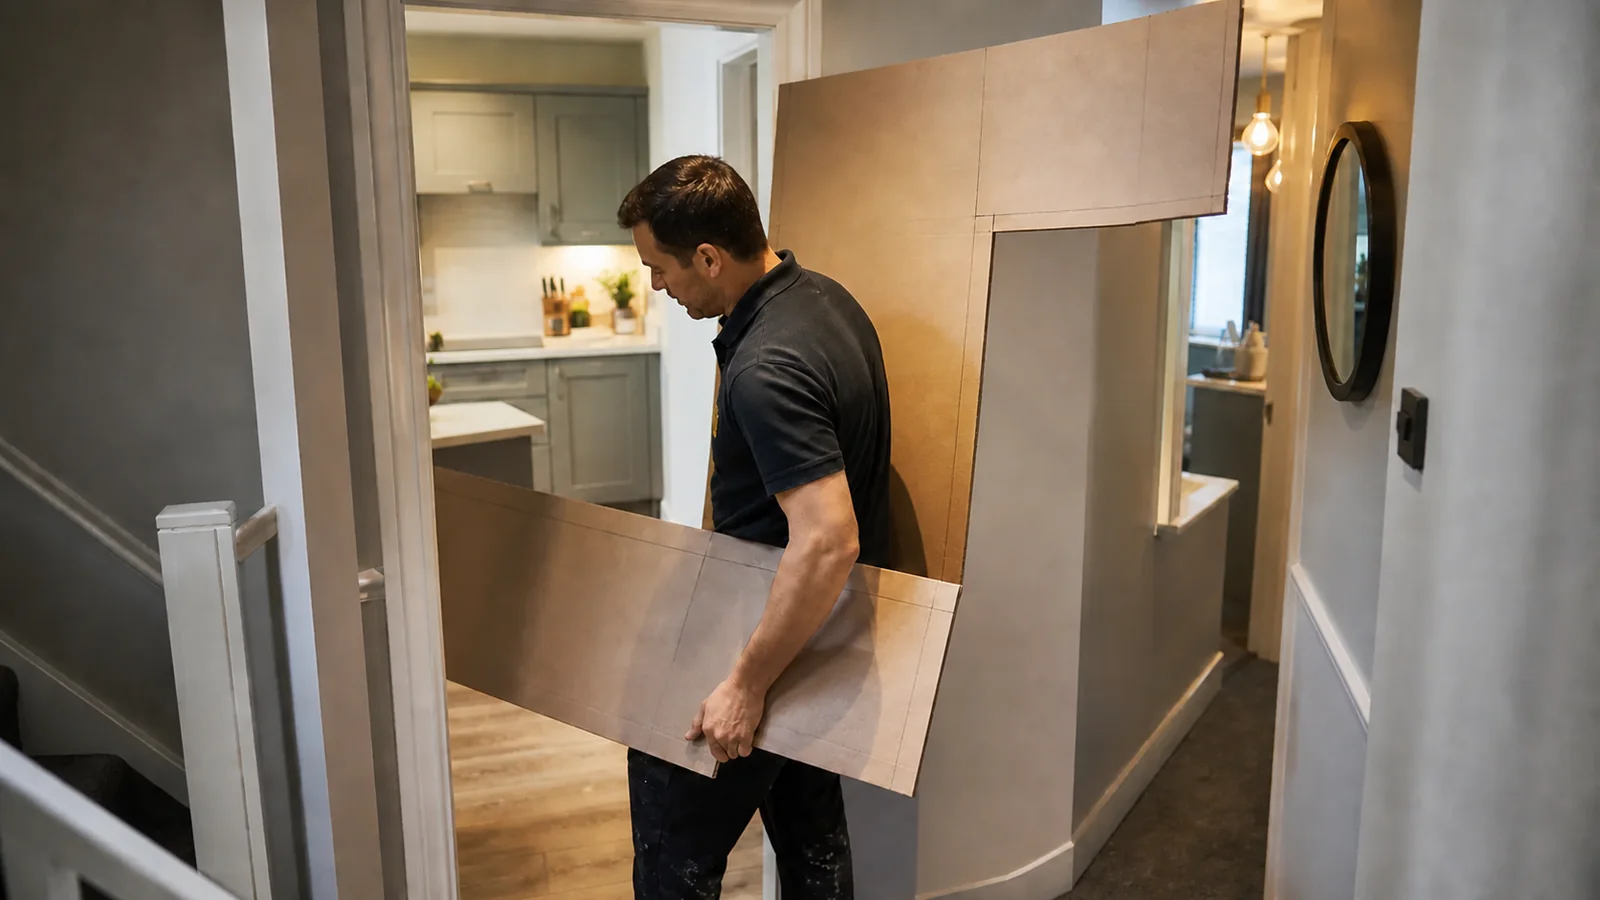
One-piece fabrication can reduce visible joints, but size brings its own problems. Long stainless sections require rigid support during transport, enough people and equipment to handle them, and a clear route through gates, lifts, stairs, doorways and kitchen turns. A large L-shape that fits the room may be impossible to rotate through the entrance.
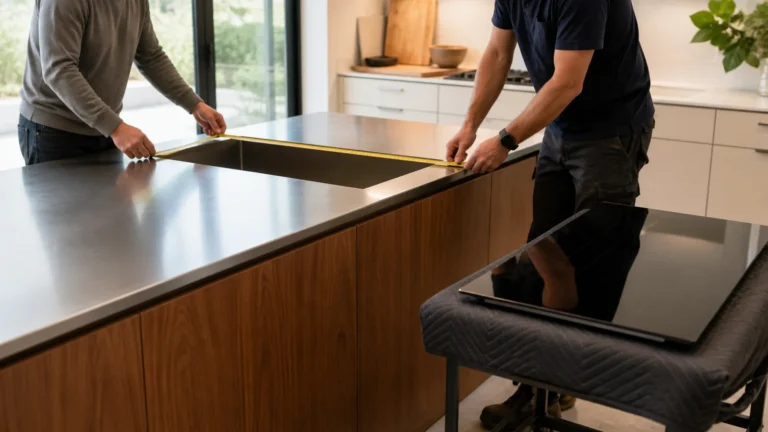
Ask for a route survey before the fabrication drawing is released. Record the packed dimensions and weight, not only the bare worktop. Include protective frames, lifting clearances and the final orientation at every turn. If access is marginal, a full-size lightweight template can test the route before metal is cut.
Keep seams away from high-risk geometry
There is no universal seam coordinate, but some locations deserve extra scrutiny. Avoid placing a seam through a sink corner, a narrow strip between a sink and front edge, a slender bridge around a cooktop, or a drainage path where a small level change can hold water. Avoid a focal sightline when an equally serviceable position exists elsewhere.
- Prefer a fully supported zone with working access above and below.
- Keep enough distance from cutouts for fabrication and finishing tools.
- Do not interrupt an intentional fall toward an integrated sink.
- Coordinate seams with cabinet divisions without assuming the division alone provides support.
- Check whether an appliance will conceal, obstruct or overheat the joint area.
If the worktop includes a future-sensitive appliance opening, coordinate the seam with the cooktop cutout and replacement envelope.
Choose the joint method before choosing the location
A workshop-welded and blended joint, a site-welded joint, and a controlled mechanical butt joint have different requirements. Workshop welding usually offers better access, fixturing, extraction and finish control, but the completed section must still reach the room. Site welding can make a larger installed assembly possible, but requires qualified personnel, protection of the finished kitchen, heat management, ventilation, power and enough room to blend the visible surface.
A hairline butt joint avoids site heat but remains a physical joint that must be supported, aligned, sealed where required and accepted visually. It should not be described as equivalent to a continuous welded surface.
| Joint approach | Potential advantage | Main coordination risk |
|---|---|---|
| Workshop-welded and blended | Controlled fabrication environment | Completed piece may exceed delivery access |
| Site-welded and blended | Allows smaller transport sections | Heat, finish, protection and working access on site |
| Mechanical or butt joint | No site welding heat | Visible line, alignment, sealing and long-term cleanability |
Welding changes the flatness risk
Austenitic stainless steel expands relatively strongly when heated and conducts heat less readily than carbon steel. The ASSDA guidance on thermal expansion and fabrication explains why restraint, tack sequence, heat input and support matter when controlling distortion. A seam that looks simple in plan can pull the worktop out of plane if its fabrication sequence is not controlled.
The TWI welding guidance for austenitic stainless steel likewise emphasizes heat and distortion control. Buyers do not need to prescribe a welder’s procedure, but they should require the fabricator to own the procedure, qualification, protection and finish result.
Support and backing are part of the seam
A thin visible stainless skin may be bonded or fixed over a substrate, folded around an edge or reinforced locally. The backing strategy affects sound, flatness, load transfer and movement. A seam crossing unsupported space can flex even if the top surface was aligned at handover. A joint over two independently moving cabinet modules can also telegraph movement.
Require a section detail showing the metal, backing, adhesive or fixing method, support below the joint, allowance for thermal movement and access for future inspection. Do not infer the build-up from an exterior rendering. If the project requires verification of the wider cabinet construction, use the guide on how to assess a well-made stainless kitchen system.
Finish blending needs its own acceptance standard
Even a sound weld can remain visible because grain, gloss or flatness changes around it. The ASSDA fabrication traps guide highlights contamination control, fit-up and finishing discipline. A worktop seam should be evaluated as both a structural/fabrication detail and a decorative surface.
Approve a representative welded or joined sample under raking light. State the normal viewing distance and lighting used for acceptance. “Invisible” is too vague: a hairline under direct task lighting and a broad cross-grain patch are not the same result, but neither can be managed without an agreed reference.
Do not place a seam where water exposes every tolerance
At an integrated sink, a small ridge can interrupt drainage and a tiny gap can trap residue. Keep joints out of the primary wet path where practical. When a seam must occur near a sink, define the slope, flushness, sealing, corner radius and water-test method. The drainage guide on preventing standing water in an integrated sink provides a separate handover sequence.
Similarly, a joint behind a low upstand needs a coordinated wall detail. A fabricator should not be forced to solve an out-of-square wall by opening the seam or covering the error with a wide sealant bead.
Freeze the seam plan before production
- Complete the finished-room survey and delivery route survey.
- Confirm sheet, machine, packing and lifting limits.
- Overlay sinks, cooktops, faucets, cabinet divisions and supports.
- Select workshop welding, site welding or a controlled mechanical joint.
- Mark grain direction and finish transition on every section.
- Approve the joint sample and acceptance lighting.
- Record site protection, test and repair responsibilities.
Questions to put in the RFQ
- Why is each proposed seam required, and what alternatives were assessed?
- What are the packed section dimensions, weights and lifting points?
- Has the complete delivery route been surveyed or template-tested?
- Will each joint be workshop-welded, site-welded or mechanically joined?
- What support and backing occur below the joint?
- How are heat distortion, contamination and grain blending controlled?
- What sample, viewing distance and water test define acceptance?
Bottom line
Place worktop seams in supported, accessible and visually manageable zones away from sink corners, drainage paths and narrow appliance bridges when practical. Decide the joint method, delivery route, heat-control responsibility and finish acceptance before fabrication. A planned seam is a controlled system detail; an unplanned seam is a site problem.
Review the project before production
Send your floor plan, destination country and project quantity for a preliminary specification review.